

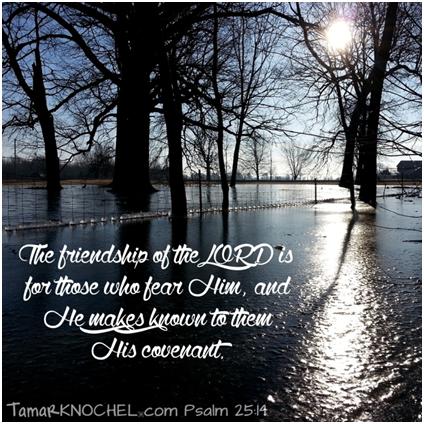
“The friendship of the LORD is for those who fear Him, and He makes known to them His covenant.” Psalm 25:14
The word “friendship” in this verse, can also be translated as “secret counsel”. Now, honestly, there are certain rules about friendship that are just understood and I think secrecy is one of those rules. I mean think back to one of your deepest friendships you’ve ever had and I think you’ll see what I mean. You shared secrets with one another didn’t you? There were (and maybe still are) things that your best friend knows about you that no one else knows about you. Maybe they were even with you when it happened. Or perhaps because you told them later what happened, but either way, there is usually a layer of secrecy covering every deep friendship in your life.
In John 15, Jesus has eaten the Last Supper and is walking through a vineyard with the men who have been with Him through every miracle and every test from the Pharisees. They’ve watched Him calm stormy seas and kiss babies. They’ve heard Him preach to thousands only to then pull these few aside and explain the intimate details of the Kingdom. (Judas the betrayer included.)
This night in the vineyard was no different. They were with Him and He was telling them amazing things that they didn’t already know. But none of them could have expected what came next.
“No longer do I call you servants, for the servant does not know what his master is doing: but I have called you friends, for all that I have heard from My Father I have made known to you.” John 15:15
At this point most of them were probably still reeling from the fact that He, the Lord of the Universe, a short time before had been washing their feet and now He’s calling them FRIEND! The gigantic breech in formal protocol must have really thrown them for a loop! Here is God in the flesh telling THEM secrets about His Kingdom and calling THEM His friends. Nothing like this had ever been done since the beginning of time! From the fall of Adam the message had been “stay away from Me or you will die.” “Stay back, My presence will kill you.” And then Jesus walks onto the scene and says, “COME! Follow Me!”
Jesus changed every image we’d ever been given of God… except one.
God is Love.
God loves us so much that He sent His only Son to take the punishment we fully deserve so that we could COME and follow Him; so that we could COME into the Holy of Holies and share secrets with God, our FRIEND. What kind of God does that? What kind of friend dies for you?
The BEST kind!
He’s the kind of friend who would rather die than to live in eternity without you. But He did more than die for you. He lives for you too. HE LIVES to intercede on your behalf. HE LIVES to pray for you and HE LIVES to be your friend. HE LIVES to be your comfort when you’re low and your companion when you’re high. HE LIVES to give you a life full of richness and depth that is beyond your wildest dreams. He doesn’t want you to just survive your current circumstances; He wants you to obliterate them! You are more than a conqueror in Christ Jesus*, you’re His friend! And if He can conquer DEATH itself, then whatever you’re facing is nothing in comparison. And He is willing to help you, because remember, He calls you friend.
Crochet Tuesday Bonus!
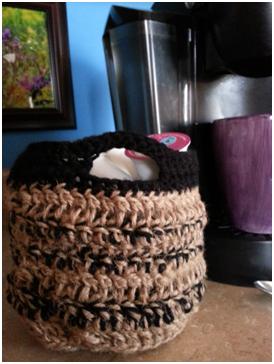 Twine Basket (or Purse!)
Materials:
Jute twine, 3 ply heavy weight: 1 – 200 ft roll (I didn’t use it all)
Black, “I Love This Yarn” from Hobby Lobby: not very much at all.
I hook
Abbreviations:
DC = Double Crochet
SC = Single Crochet
SL = Slip Stitch
CH = Chain
St = stitch
JWSTDT = Join with slip stitch don’t turn
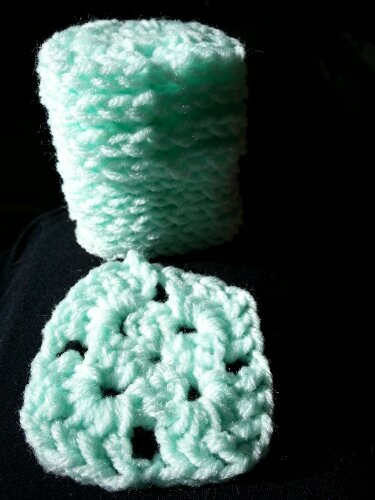
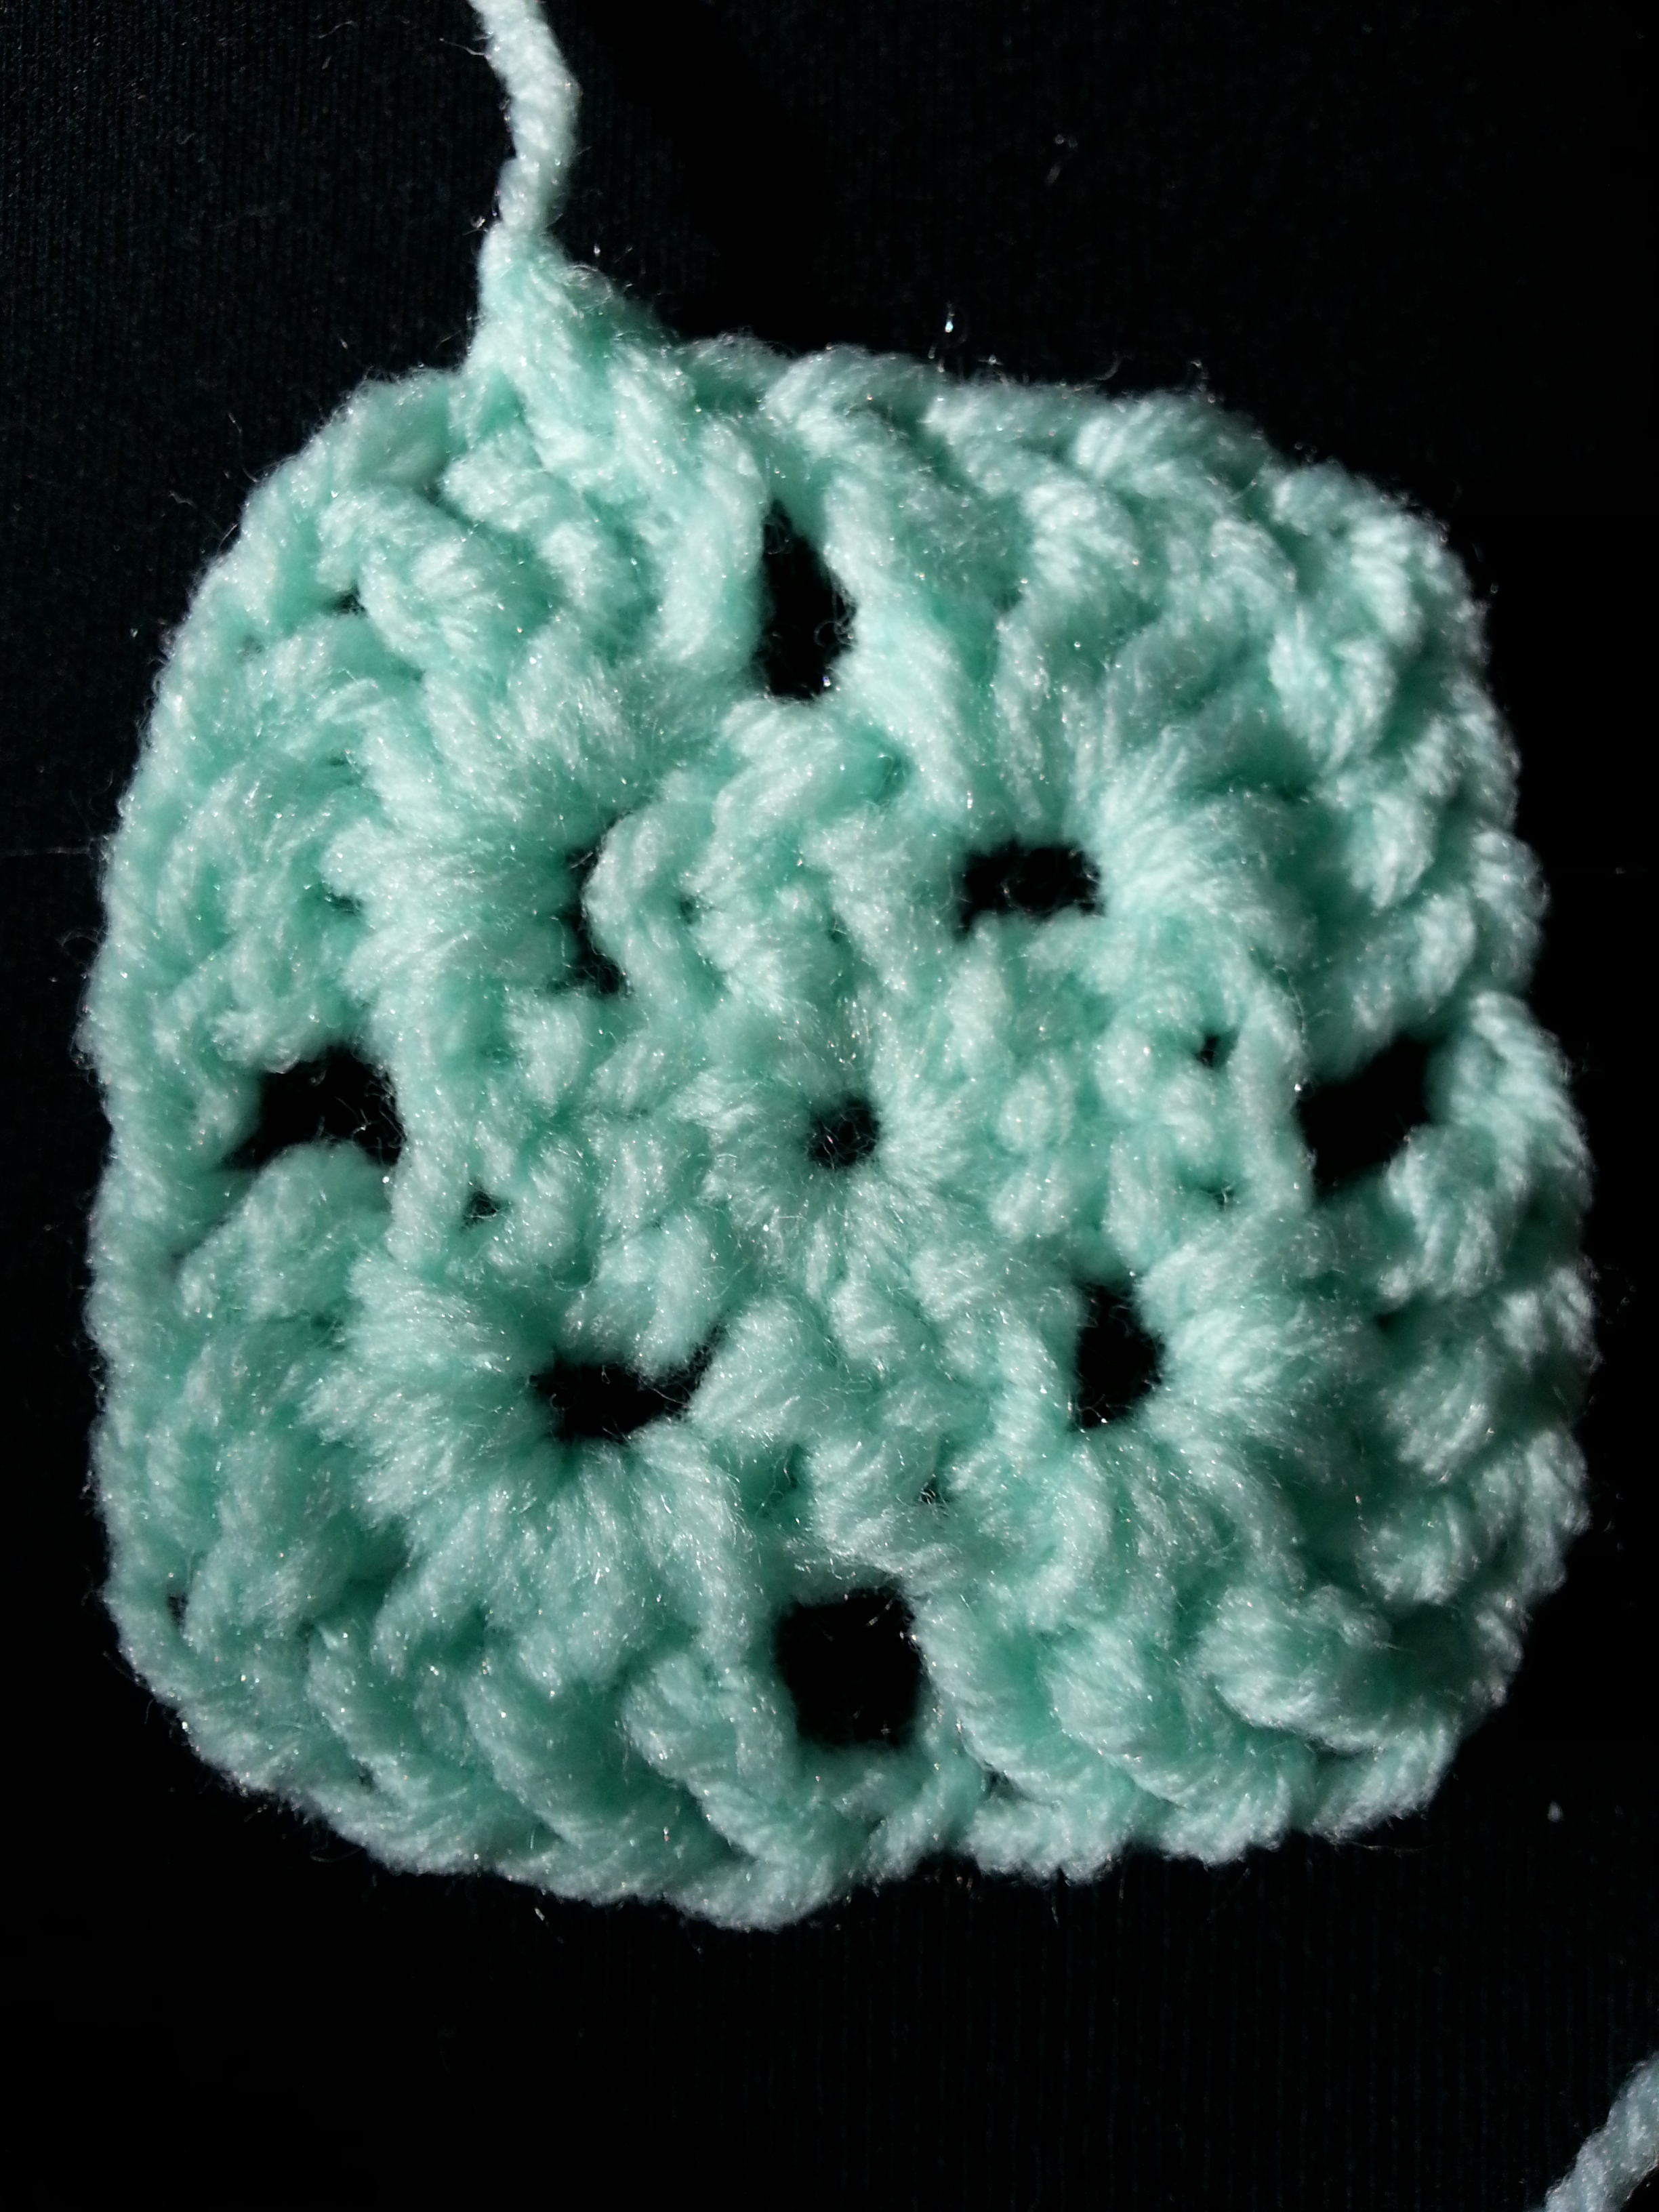
Base:
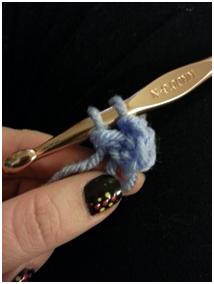
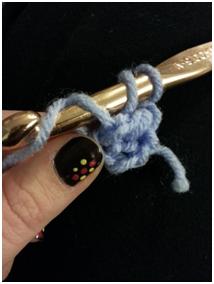
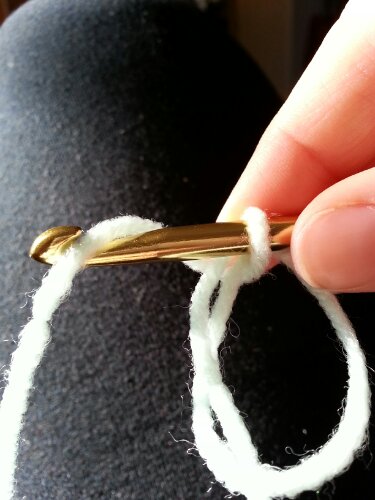
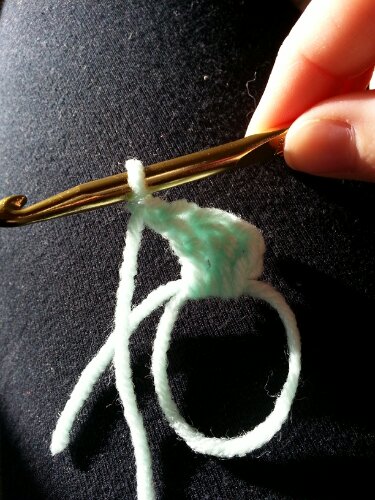
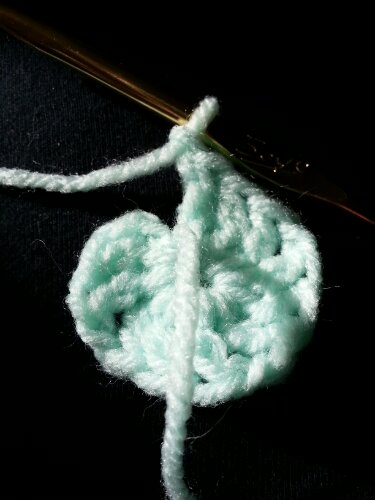
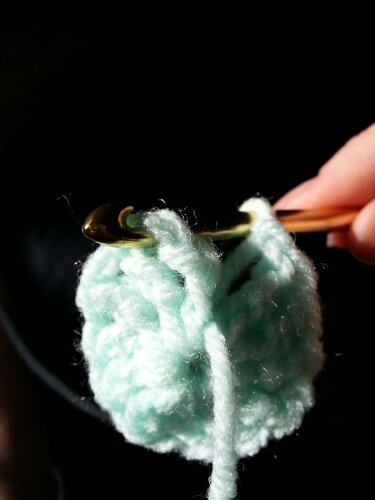
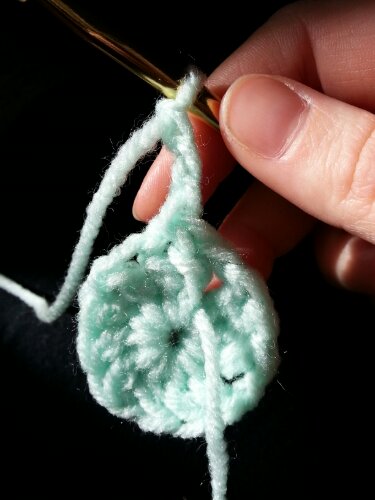
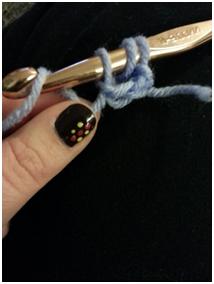
Round 1: Magic circle (basically it’s just a loop that you stitch into and then pull the end tight when you’ve finished the round), CH 2, DC 12 in circle, pull circle closed and JWSTDT. [13 st total including chain]
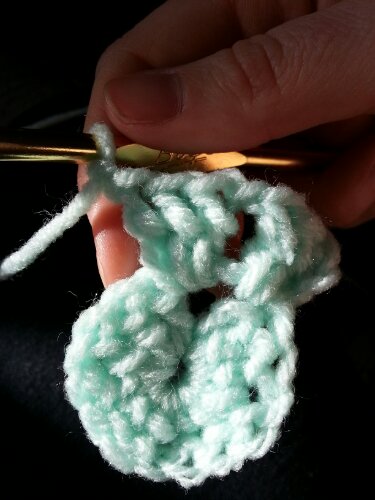
Round 2: CH 2, DC 1 in same st as join, DC 2 in each st around, JWSTDT. [26 st]
Round 3: CH 2, DC 1 in same st as join, *DC 1 in next st, DC 2 in next st**, repeat from * to ** around, JWSTDT. [39 st]
Round 4: CH 2, DC 1 in same st as join, *DC 1 in next 2 st, DC 2 in next st**, repeat from * to ** around, JWSTDT. [52 st]
Sides:
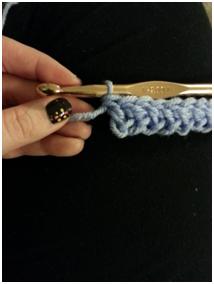
Round 5: CH 2, hold the circle with the side that has been facing you down towards the ground, in this row only you will be working in the top loops only, DC 51 around, JWSTDT. [52 st including the chain 2]
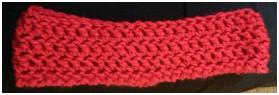
Round 6: CH 2, lay the black yarn over the next few stitches with the loose end pointing in the direction you’re crocheting so that you can crochet over it locking it into the basket. (I’m so sorry I didn’t get pictures of this for you!) In Rounds 6, 8, & 10 take both the black yarn and the twine and work with them together as one piece of yarn. DC 51 st making sure to go over the tail of the black as you work to cover it up. JWSTDT. Drop black yarn from hook. [52 st]
Round 7: With twine only, CH 2, DC 51 around, JWSTDT. [52 st]
Round 8: Pick up the black yarn leaving a little slack to allow the basket to stretch, but not so much that it hangs out. With both black and twine, CH 2, DC 51, JWSTDT, drop black yarn. [52 st]
Round 9: With twine only, CH 2, SC 51, JWSTDT, pick up black yarn. [52 st]
Round 10: With black and twine, CH 2, SC 51, JWSTDT, drop black yarn. [52 st]
Round 11: With twine only, CH 2, DC 51, JWSTDT, drop twine. [52 st]
Round 12: With black only, CH 2, SC 51 working over a couple inches of the twine so that it doesn’t unravel, then clip the twine with scissors, JWSTDT. [52 st]
Handles:
Round 13: CH 2, DC 13, CH 7 (skip over the next 7 st below the chain), DC 19, CH 7 (skipping over the next 7 st below the chain), DC 6, JWSTDT. [52 st]
Round 14: CH 2, SC 51, finish off.*
*Note: There are two ways that you can do the handles. 1) Insert the hook through the CH st  I did this one because I liked the woven look that it gave it. 2) Insert the hook under the entire chain wrapping your yarn around it. This gives it a more linear look like the center of your magic circle.


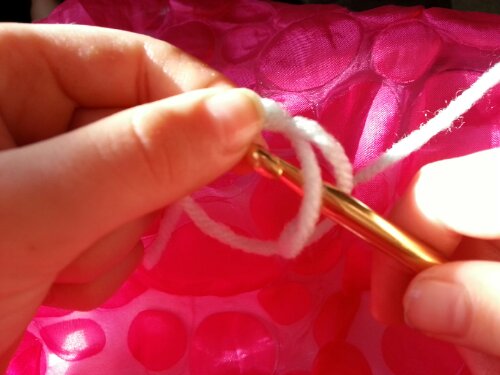


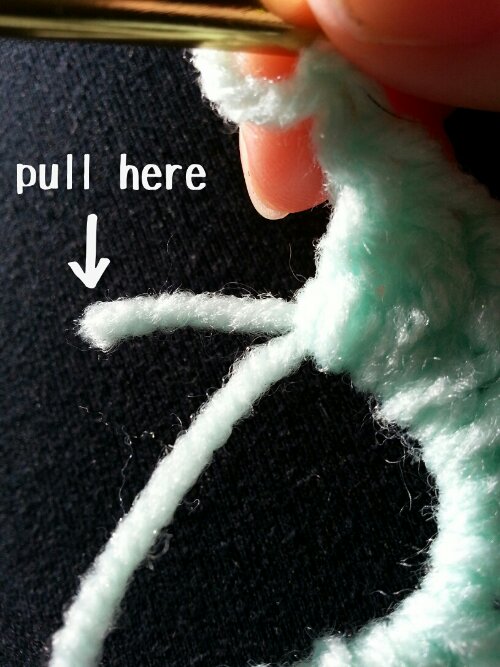


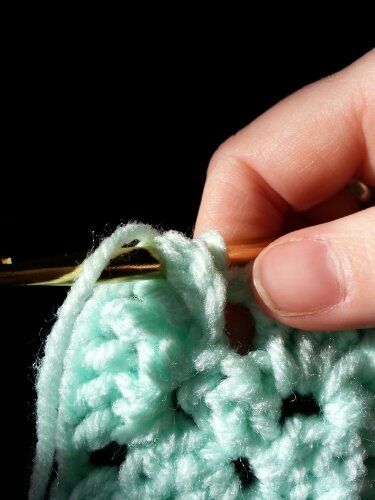
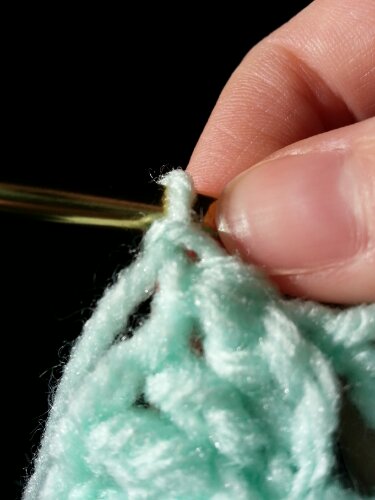


 I’m still pinching that same spot for reference.